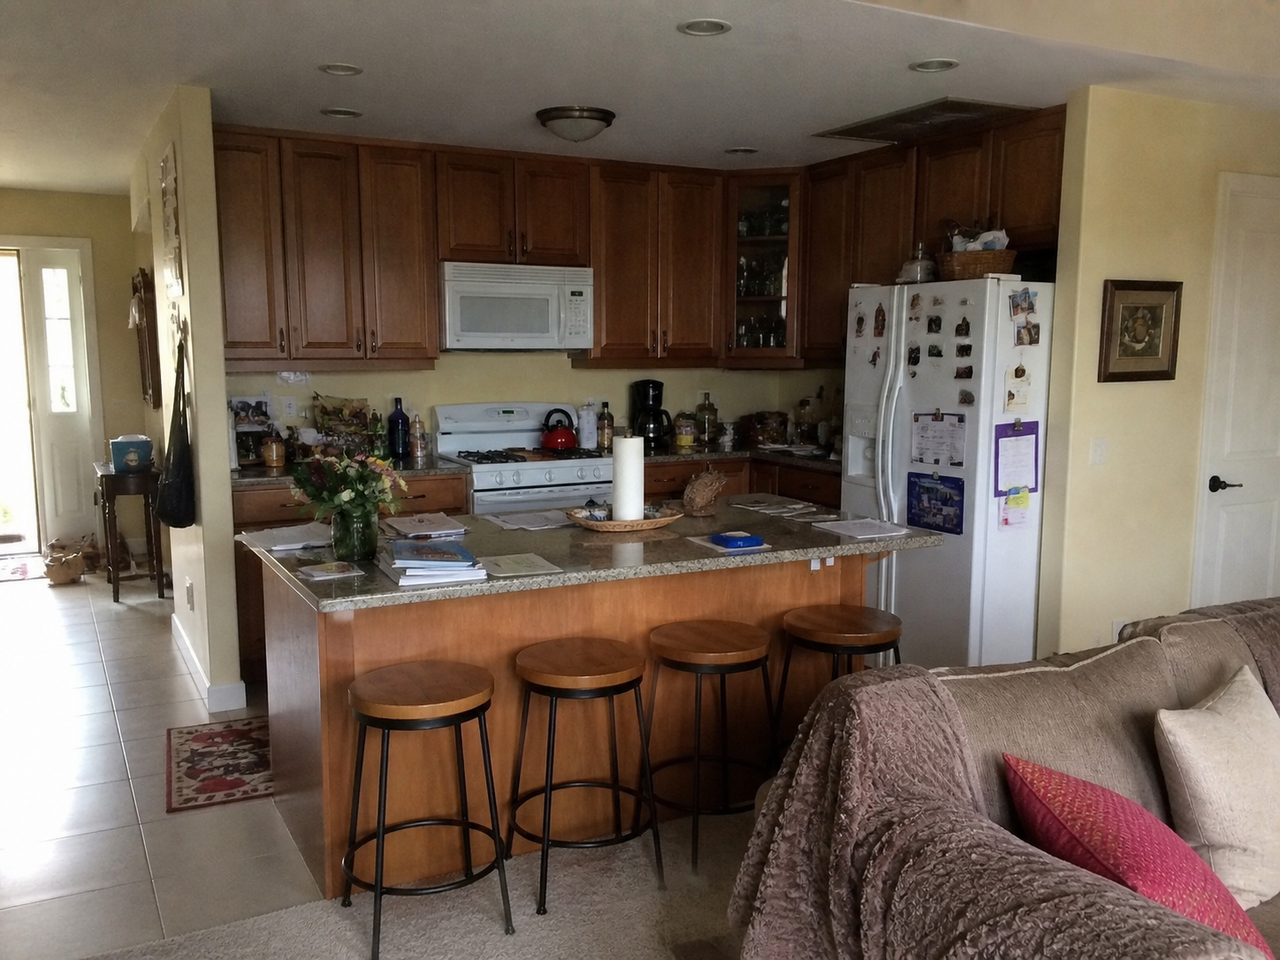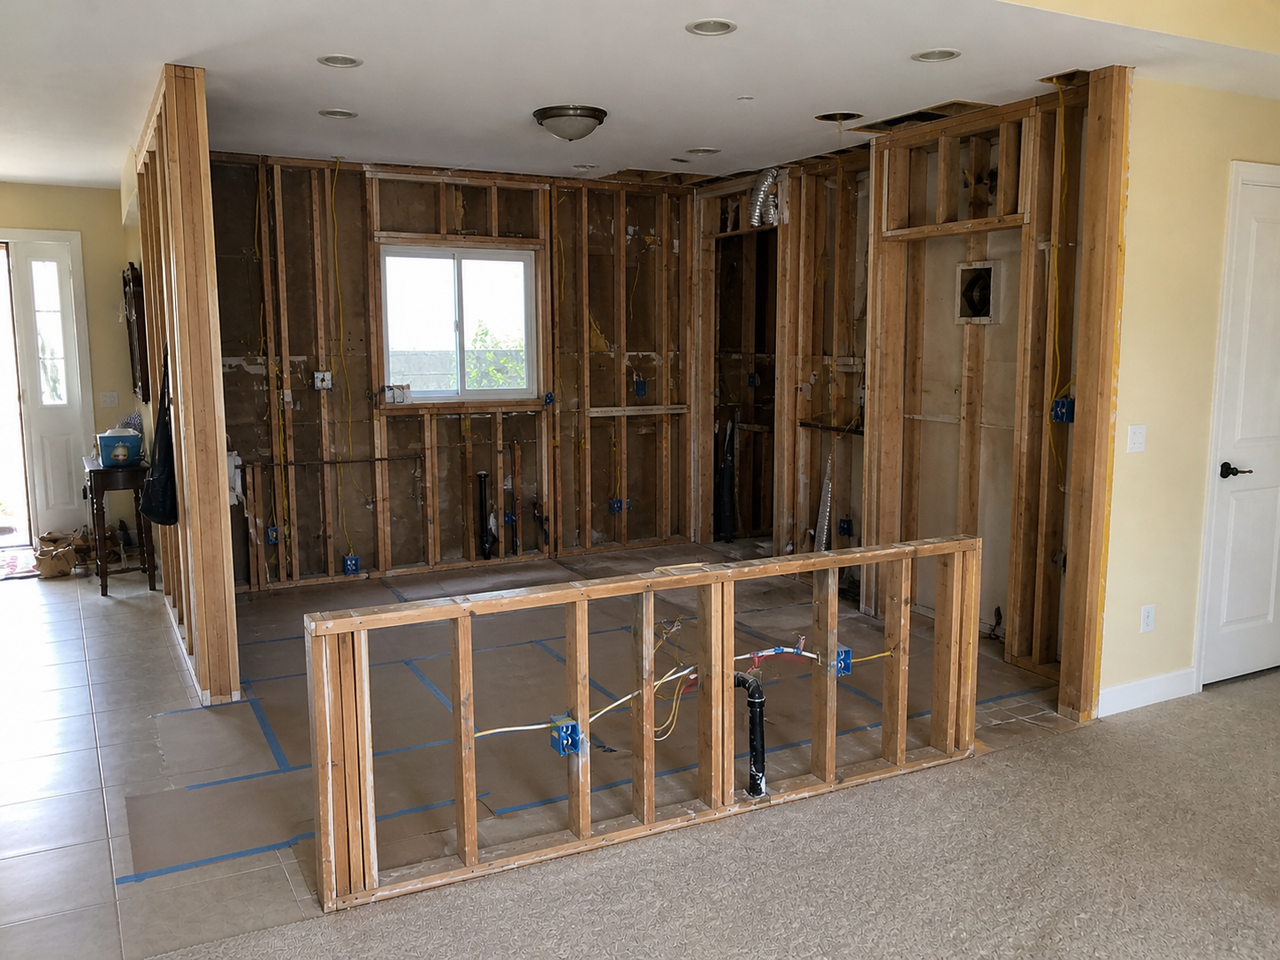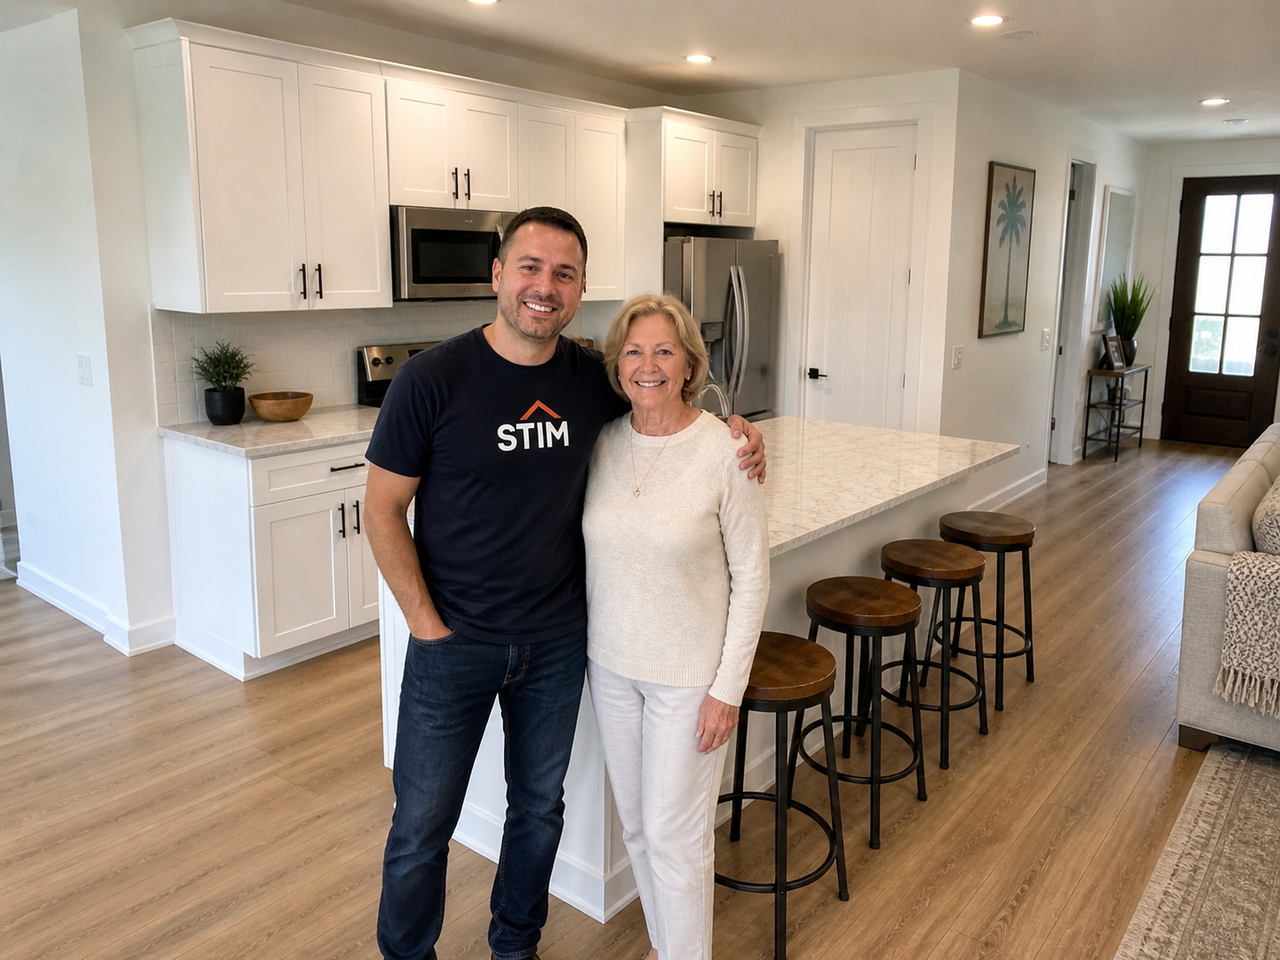
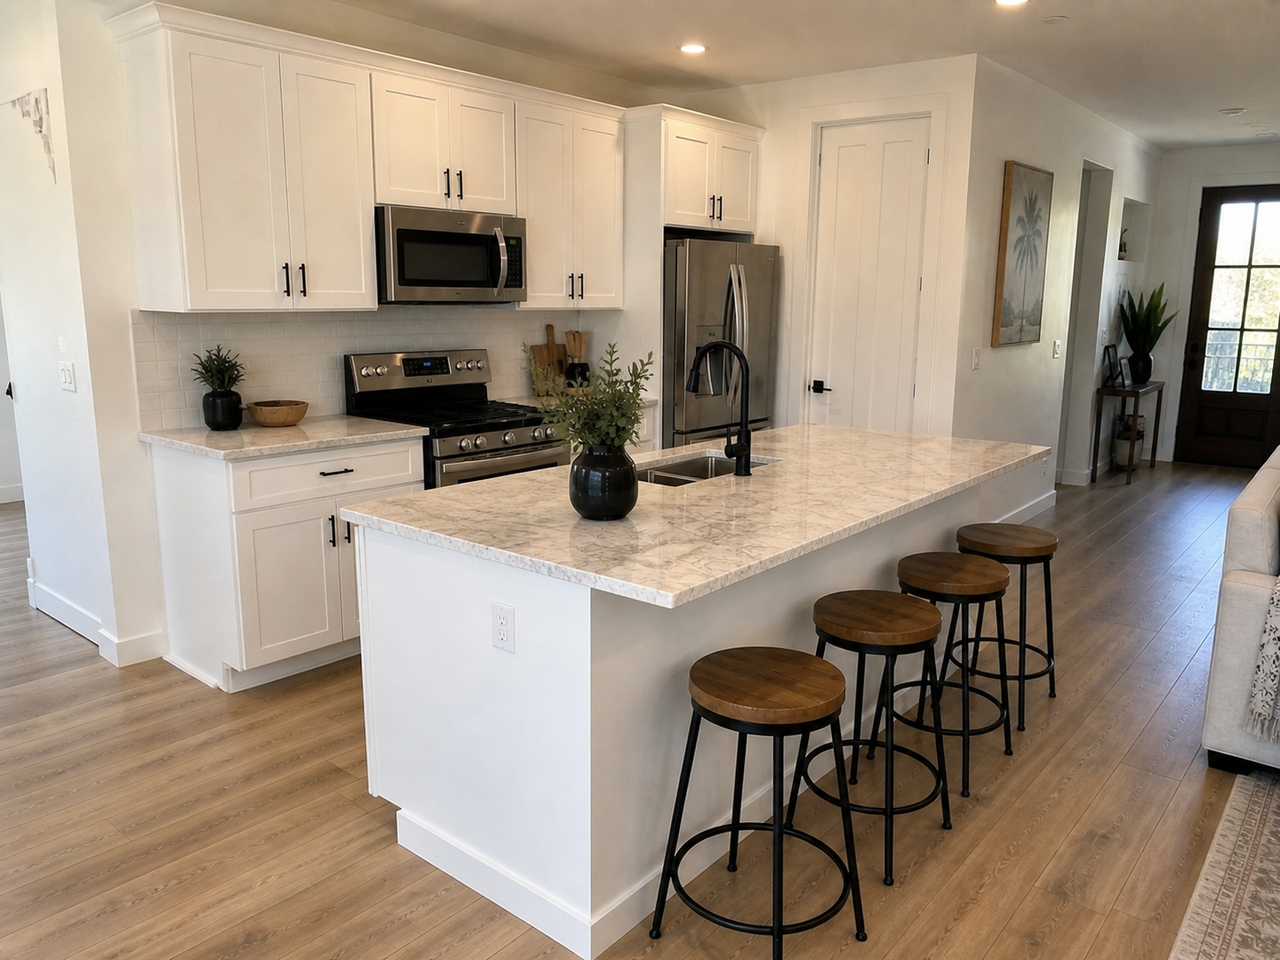
Kitchen Remodel
Concord, CA · Full Kitchen Remodel
From “I Feel Sad in Here” to Her Favorite Room in the House
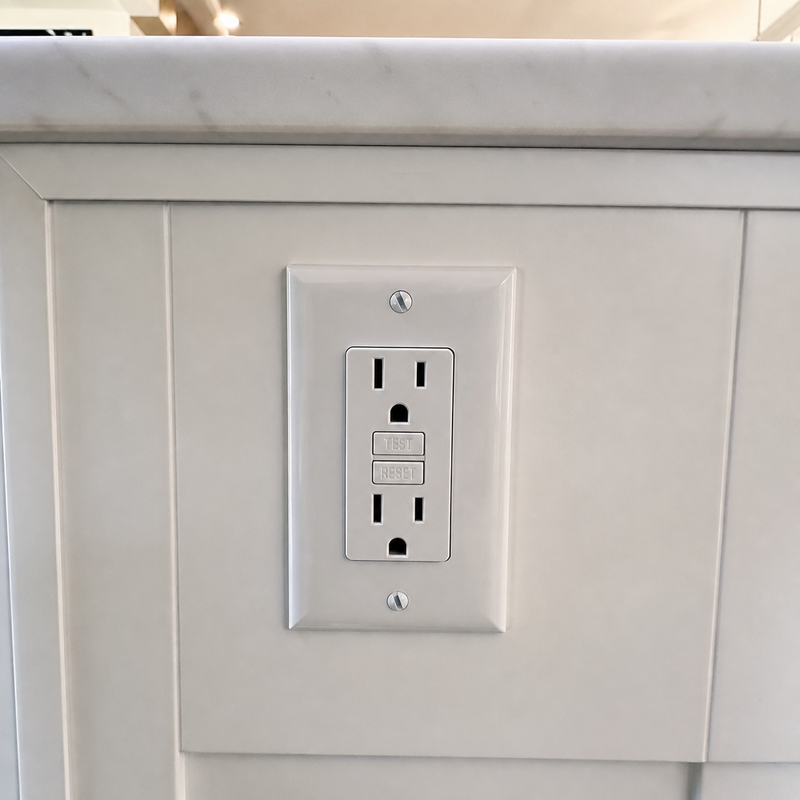
A full kitchen remodel with permits, inspections, electrical upgrades, plumbing, tile, quartz island, lighting, and final handoff.
8weeks
4permits
0corrections
$12Ksaved